Introdução
O objetivo deste documento tem como finalidade efetuar a troca de IPs em duas linhas de controladores Delta DVP e AS.
Introdução Linha DVP
A linha DVP possui módulos de comunicação Ethernet ou CLP que já possuem integrados uma porta de comunicação Ethernet, assim através do software DCISoft pode-se alterar o IP para o controlador ou o cartão estarem na mesma faixa de comunicação que os dispositivos da rede.
| Network | ||||||||
| DCISoft V1.22 | Ethernet configuration software | AH series Ethernet/serial communication modules, DVP series built-in Ethernet PLCs, DVP series Ethernet/serial communication modules, IFD series Ethernet modules | Windows® XP/Vista/7(32-bit/64-bit)/8/8.1(32-bit/64-bit) | 2019/11/12 | 12.2MB | – | ||
Após instalar o software DCISoft, deve-se configura o IP:
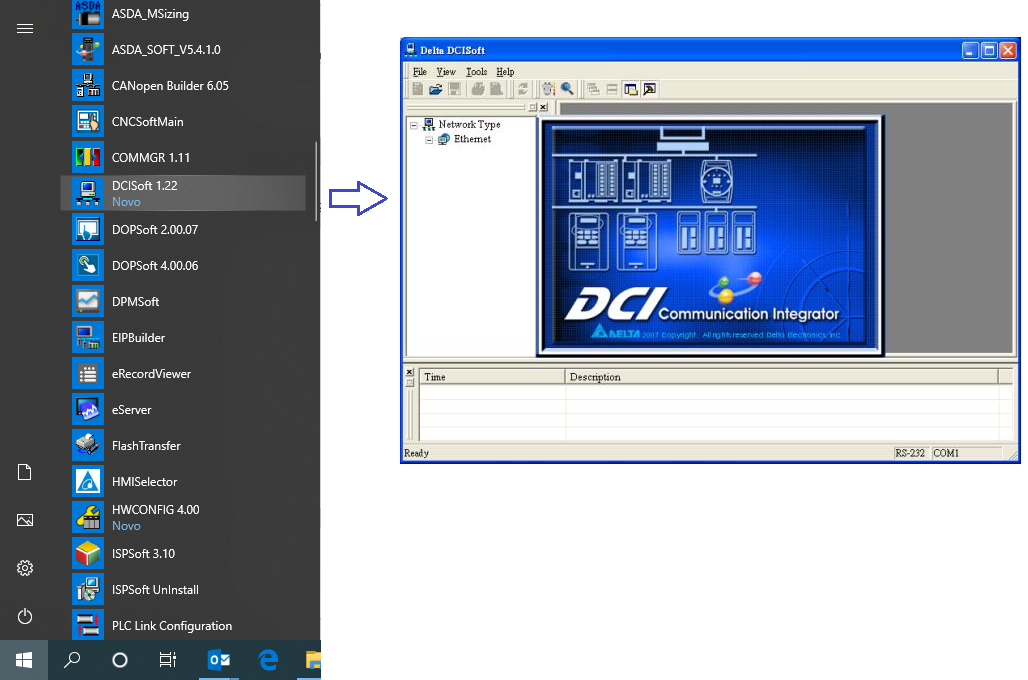
1. Abra o software no computador:
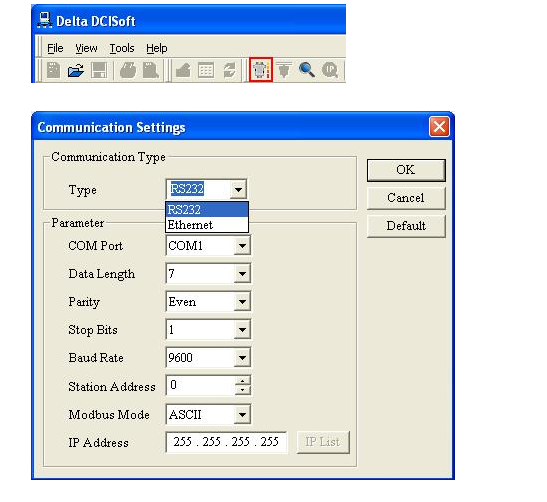
2. Quando o DCISoft abrir como mostrado acima, clique no ícone de configurações de comunicação no menu da ferramenta, como mostrado abaixo. Defina o tipo de comunicação e o parâmetro de comunicação que você prefere usar no seu PC para conectar o DCISoft ao CLP DVP12-SE
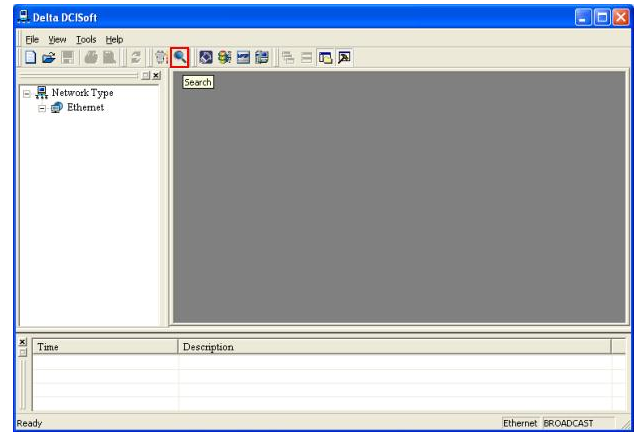
3. Depois de definir o tipo de comunicação e os parâmetros de comunicação, pressione o botão “Auto Search” para procurar o DVP12-SE no DCISoft para configuração.
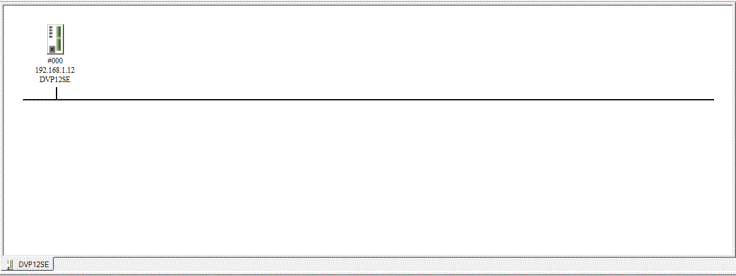
4. Quando o controlador for encontrado na rede, clique duas vezes no ícone do módulo DVP12SE mostrado na imagem abaixo para entrar na página de configuração.
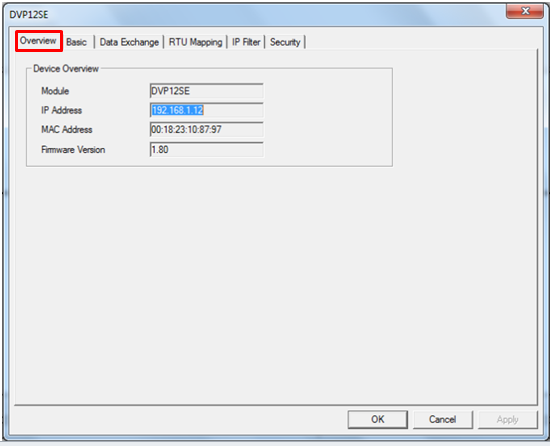
5. Será aberto a janela com as guias de configurações. A primeira guia é “Overview”, essa guia mostra o status básico atual do módulo PLC DVP12-SE.
6. Navegue até a guia “Basic” para acessar as configurações de rede do controlador, nesta aba o usuário poderá definir os parâmetros de configurações.
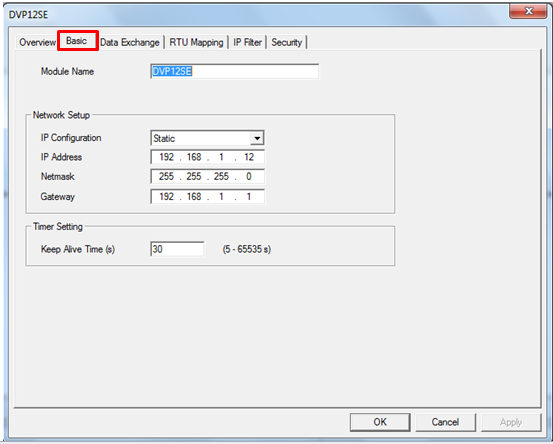
Após efetuar todas as configurações o usuário pode aplicar estas no controlador, pressionando o botão “apply”.
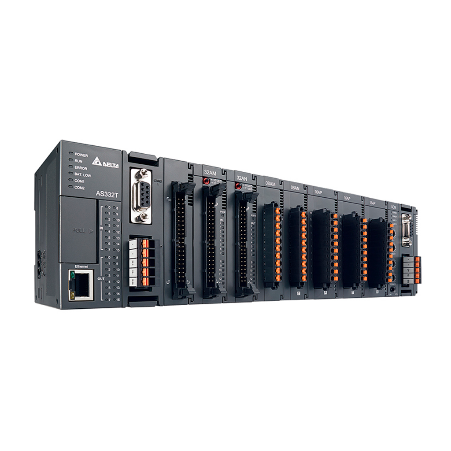
Introdução Linha AS
Na linha de controladores da família AS, todas possuem uma porta de comunicação Ethernet, através desta porta a flexibilidade e facilidade de comunicação com diversos dispositivos de automação é muito ampla, podendo comunicar com PCs, CLPs, IHM, supervisórios entre outros dispositivos.
- Instalação dos Softwares indicados na tabela abaixo
PLC Programming COMMGR V1.11 Communication management software AH series, AS series and DVP series PLCs Windows® XP/7(32-bit/64-bit)/8/10 (64-bit) 2019/11/12 9.42MB – ISPSoft V3.10 PLC programming software AH series, AS series and DVP series PLCs Windows® XP/7 (32-bit/64-bit)/8/10(64-bit) 2020/03/03 1,378MB Please use with COMMGR for communication function
Após instalar os softwares necessários, deve-se configurar o COMMGR
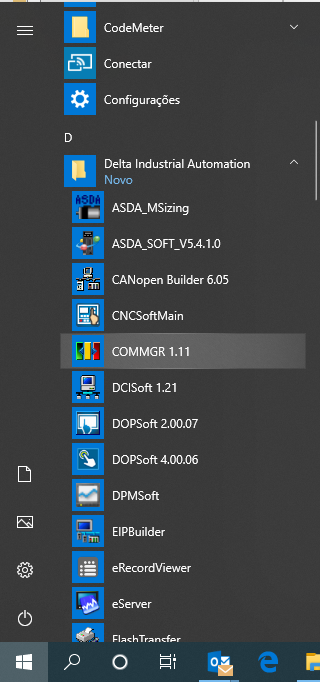
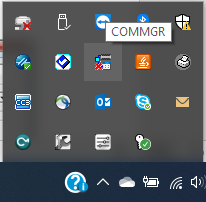
1. Menu iniciar:
Atalho na barra de ferramentas:
2. Com o COMMGR iniciado, o usuário pode adicionar conexões para a comunicação com o CLP, conforme mostra o exemplo:
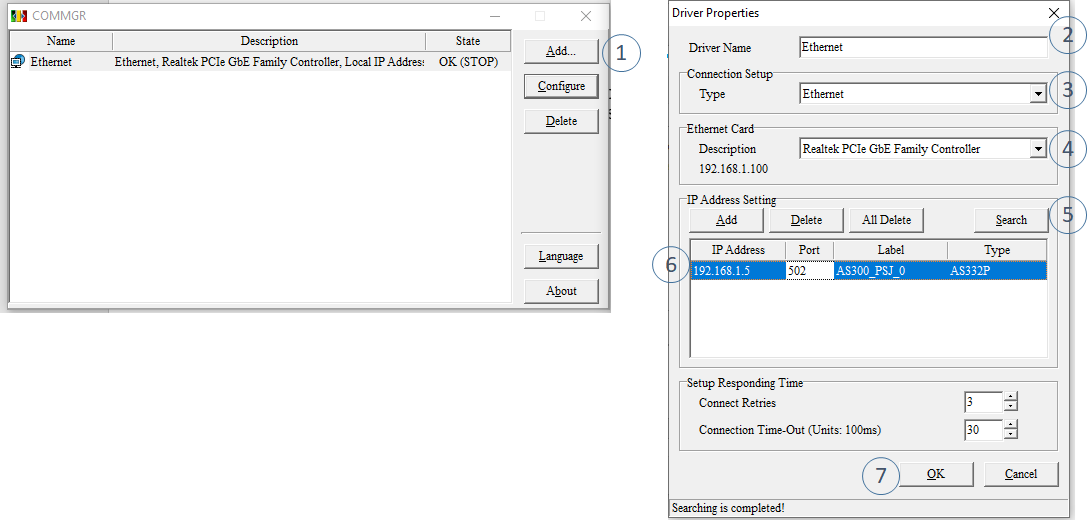
1 – Adicionado uma nova configuração.
2 – Inserir o nome da rede.
3 – Escolher o tipo de comunicação.
4 – Definir a porta de comunicação do computador (Obs: O IP do computador deve estar na mesma faixa do CLP que segue o padrão de fábrica 192.168.1.5).
5 – A partir do momento que os dispositivos estiverem na mesma faixa de IPs selecionar o botão “Search”, que fará a busca automática do CLP.
6 – Verificar o IP do dispositivo e o controlador.
7 – Finalizar com o botão “OK”.
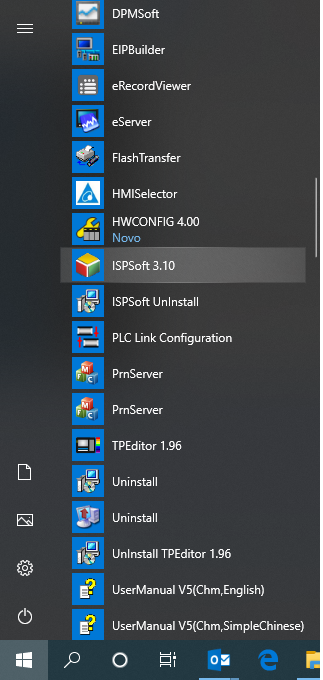
3. Após configurar o COMMGR deve-se abrir o software de programação do CLP – ISPsoft:
4. Criando um novo projeto.
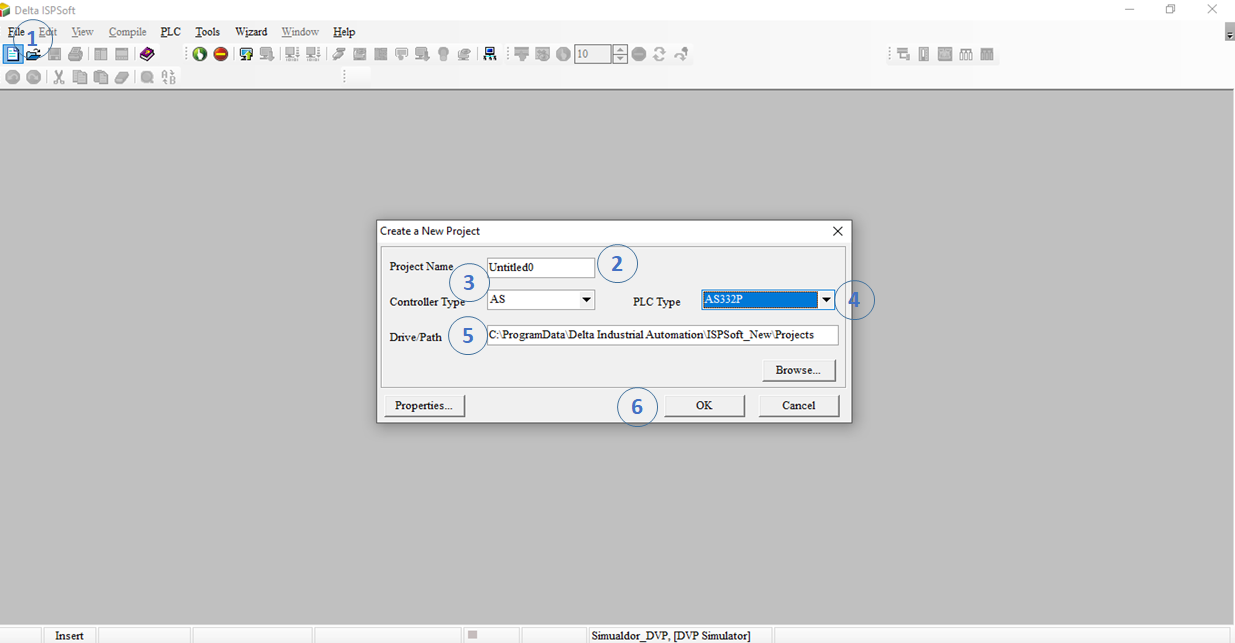
1 – Adicionado um novo projeto.
2 – Inserir um nome no projeto/programa.
3 – Selecionar a linha de CLP.
4 – Selecionar o modelo do CLP.
5 – Definir o local que será gravado o projeto/programa.
6 – Finalizar com o botão “OK.
5. Selecionado a comunicação com o controlador:

1- Clique em Tools
2 – Clique em Communication Settings…
3 – Selecione o driver criado no COMMGR
4 – Verifique o IP se é o mesmo do CLP
5- Clique em OK
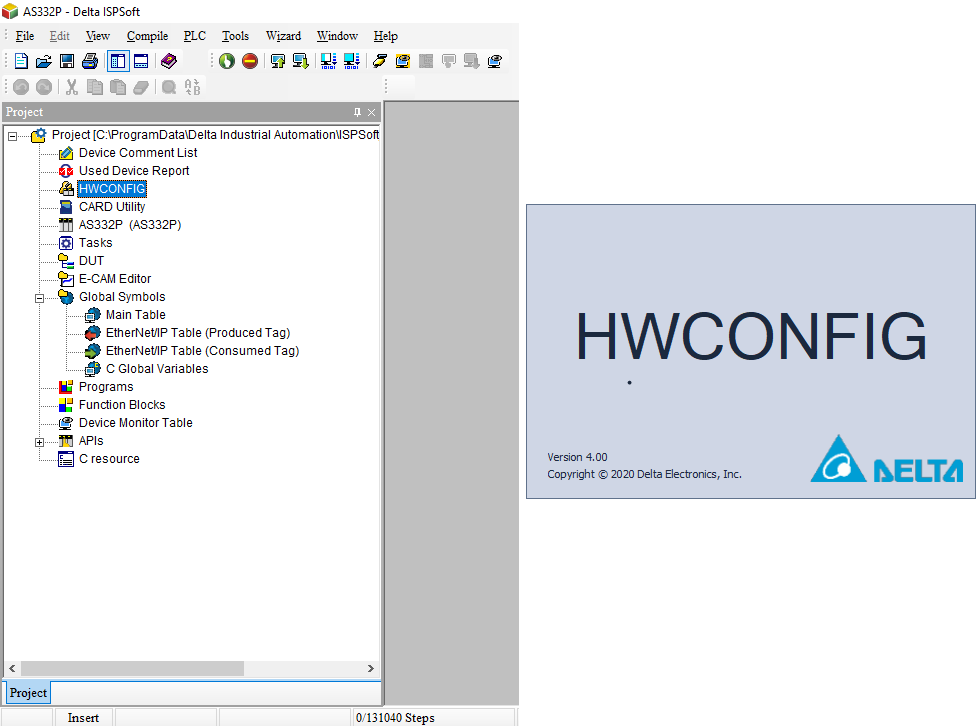
6. Selecionar o “Hardware Configuration (HWCONFIG)” com duplo click.
7. No HWCONFIG seguir os passos abaixo:
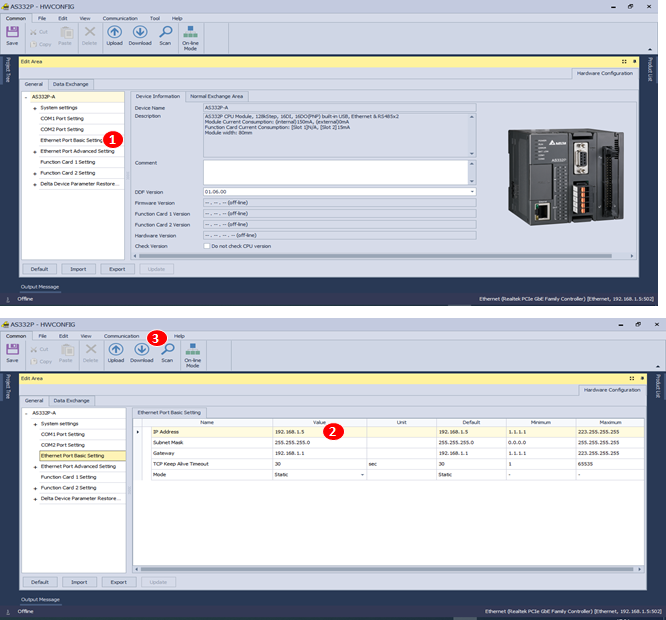
1 – No HWCONFIG, selecionar a “Ethernet Port Base Setting”
2 – Na aba “Ethernet Port Base Setting” alterar as configurações de rede.
3 – Finalizar com o donwload da configuração de hardware.