- +55 (12) 3932-2300
- [email protected]
Introduction
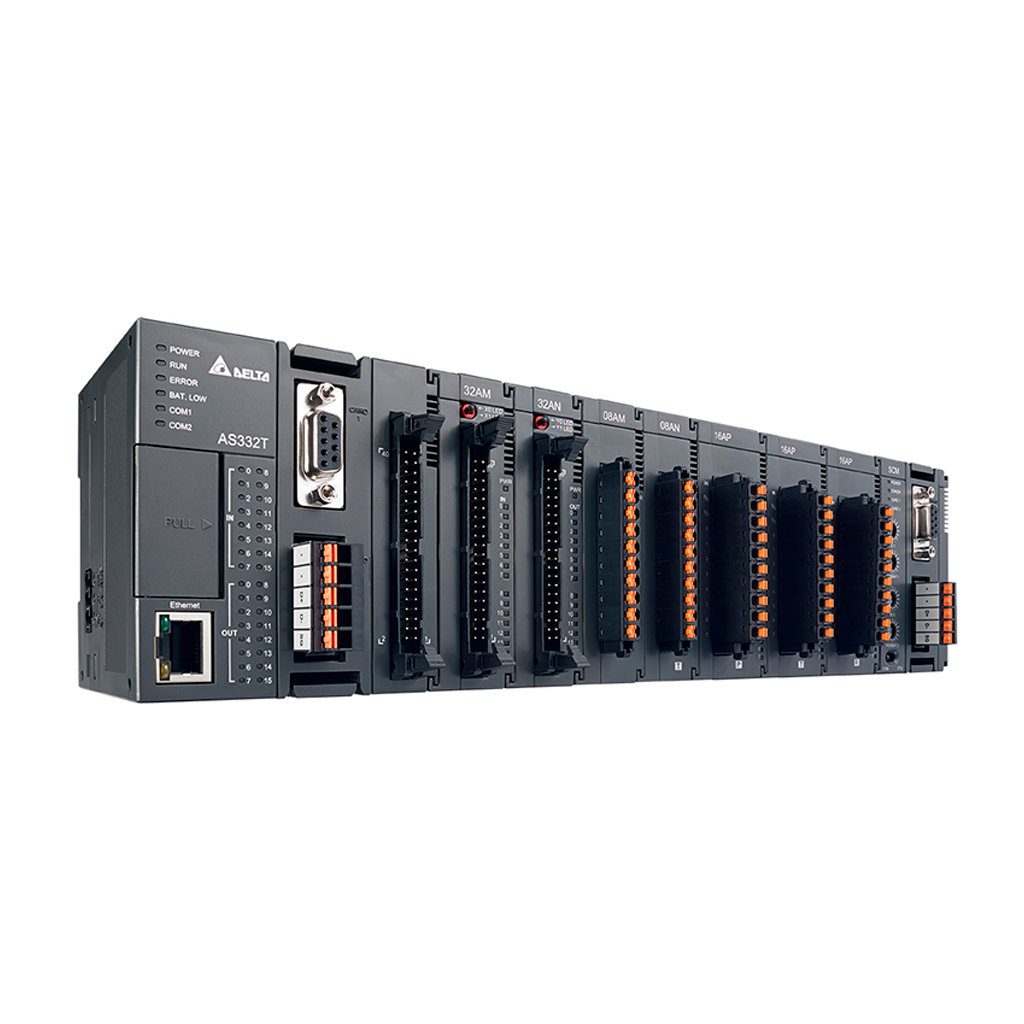
In this article we will present the step by step to communicate the AS200 or the
AS300 with an ASD-A2 joint servo via CANopen. AS200 / 300 PLCs support
up to 8 Delta servo units, 8 inverters and 7 AS00SCM remote units
AS-FCOPM function is required for AS300).
Use addresses 1 through 8 for Delta servos and 21 through 28 for drives
when using “Delta Special Driver & AS Remote Mode” or “Delta
Special Driver & DS301 ”. If configured in DS301 only, these addresses
they don't need to be respected.
Grades:
Delta Special Driver: Delta Servo and Inverters
AS Remote: AS00SCM + Functional Card (AS-FCOPM)
DS301: The DS301 communication profile is the interface between device profiles and the CAN bus. He was
1995 under the name DS301 and defines uniform standards for common data exchange between
different types of devices under CANopen.
Configuring the ASD-A2
Adjust the parameters below:
1. Set parameter P2-08 = 10 to restore the parameters.
2. Turn the servo off and on to load the settings.
3. Set P1-01 = 0001 (PR mode).
4. Set P3-01 = 04xx to adjust the communication rate of the servo via CANopen
equal to 1000kbps. The communication rate must be the same configured in the
CLP.
5. Set the address for each servo in P3-00 following the order of 1 to 8. A maximum of 8 (eight) Delta servos can be defined.
6. Turn the servo off and on to load the settings.
Configuring the AS200
1. Within ISPSoft, open HWCONFIG in the project manager.
2. After opening HWCONFIG you have two options:
The. Upload the previously changed hardware settings and make the new changes to the card.
B. Do the SCAN, but in this case it is only recommended if the PLC does not have any previous configuration, as the SCAN will identify all coupled hardware, but all will have factory settings.
3. Select the AS200 CPU.
4. You must now configure the CANopen communication format.
The. Select the [General] tab.
B. Then select [Built-in CAN Communication].
ç. Set the work mode to [Delta Special Driver & AS Remote Mode].
d. Set the communication rate to [1000k].
5. Once configured, download and close HWCONFIG.
Configuring the A300
1. Within ISPSoft, open HWCONFIG in the project manager.
2. After opening HWCONFIG you have two options:
The. Upload the previously changed hardware settings and make the new changes to the card.
B. Do the SCAN, but in this case it is only recommended if the PLC does not have any previous configuration, as the SCAN will identify all coupled hardware, but all will have factory settings.
Before executing the SCAN, make sure that the AS-FCOPM communication card is inserted in slot 1 or 2 of the CPU.
3. Select the AS300 CPU.
4. You must now configure the CANopen communication format.
The. Select the [General] tab.
B. Then select the AS-FCOPM [Function Card 1 or 2 Setting].
ç. Select the [AS-FCOPM Card] card.
d. Set the work mode to [Delta Special Driver & AS Remote Mode].
and. Set the communication rate to [1000k].
5. Once configured, download and close HWCONFIG.
Schedule
1. To initialize the CANopen network, use the [INITC] function block with the number of servos on the network. The SM1681 memory indicates that the initialization was successful.
Note: The INITC value refers to the number of Delta servos in the network and not the driver address.
2. Then, use the ASDON block to enable the servo (SERVO ON). Indicate in S1 the address of the servo in the network and the value 1 for ON and 0 for OFF.
3. You can now execute the movements on the servomotor. In the example below, we used the DDRVIC block that does incremental positioning.
The SM1631 system memory indicates that axis 1 (Y0.0 / Y0.1) has finished executing the pulses at S1 of the DDRVIC.
For more information, see the AS series manuals in the download center.
Download Center